VPS hosting
Knowledge base / VPS hosting
How to Enable Microphone Redirection in Windows Server 2022
Enable microphone input in a Windows Server 2022 Remote Desktop session by configuring Windows Audio, Group Policy and the local RDP client.
To use a local microphone inside a Windows Server 2022 Remote Desktop session, enable audio recording redirection on the server and in the local Remote Desktop client. You may also need the Remote Desktop Session Host role if the server is not configured to accept regular RDP sessions.
Configure the Windows Server
- Connect to the server over Remote Desktop.
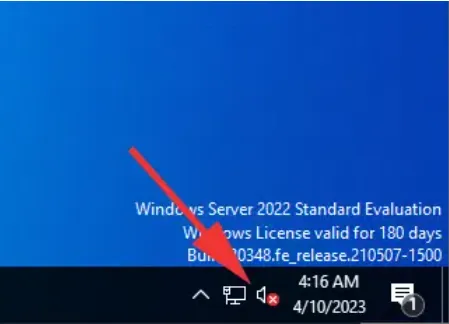
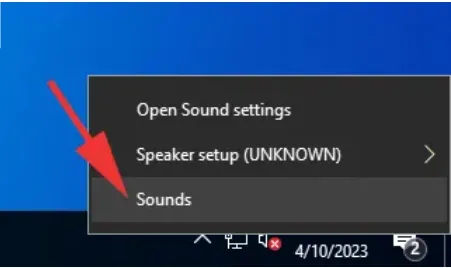
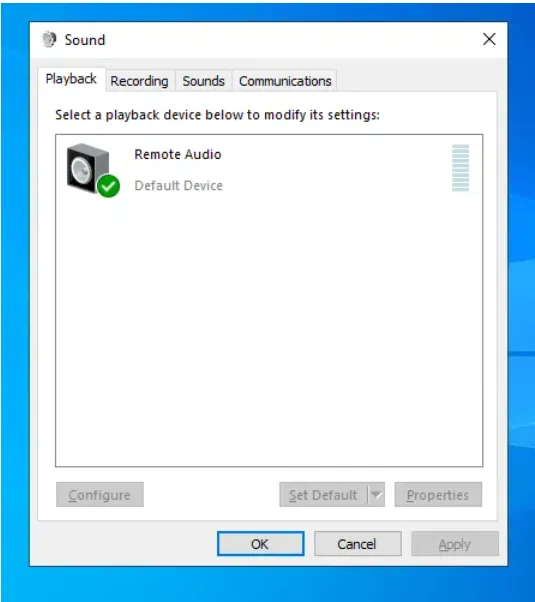
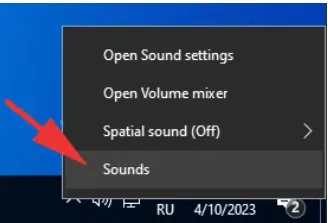
- Right-click the sound icon in the taskbar and select Sounds.
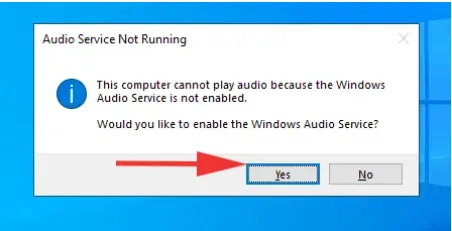
- If Windows asks to enable audio services, allow it. If no prompt appears, open
services.msc, find Windows Audio, set its startup type to Automatic, and start the service.
- Confirm that the sound settings window opens and close it for now.
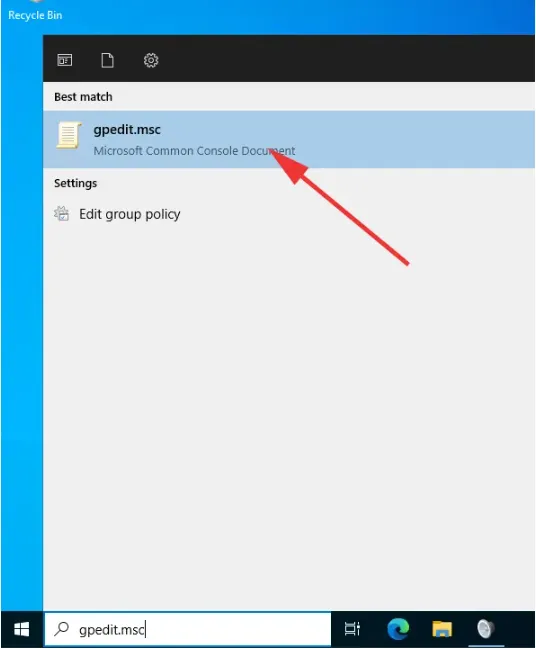
- Open Windows Search, enter
gpedit.msc, and launch Edit group policy.
- In Local Group Policy Editor, go to Computer Configuration => Administrative Templates => Windows Components => Remote Desktop Services => Remote Desktop Session Host => Device and Resource Redirection. Open Allow audio recording redirection.
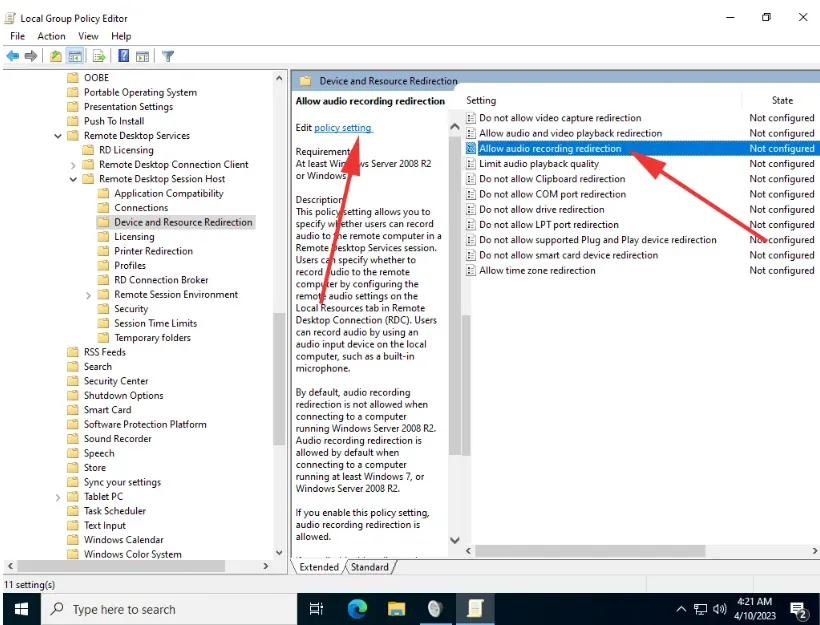
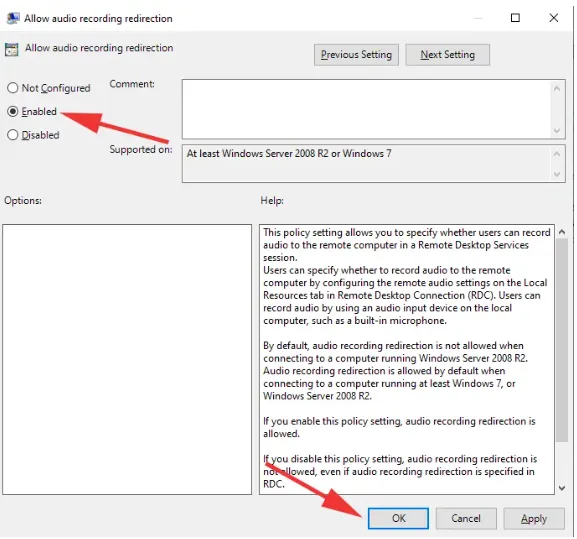
- Set the policy to Enabled, click Apply, and then click OK.
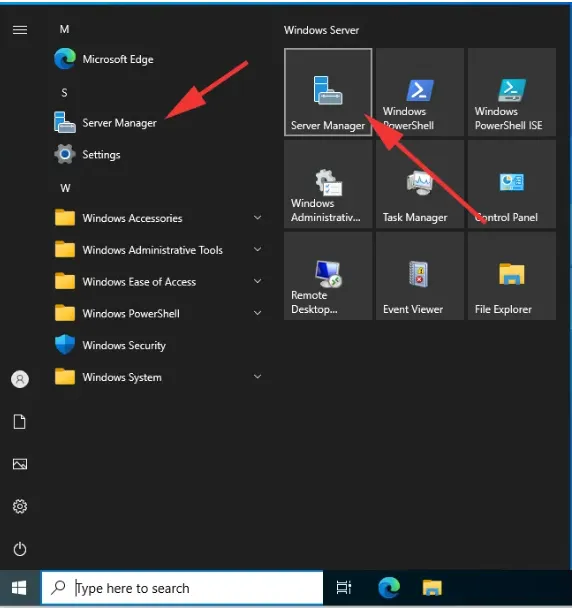
- If this server is not already configured as an RDP Session Host, open Server Manager.
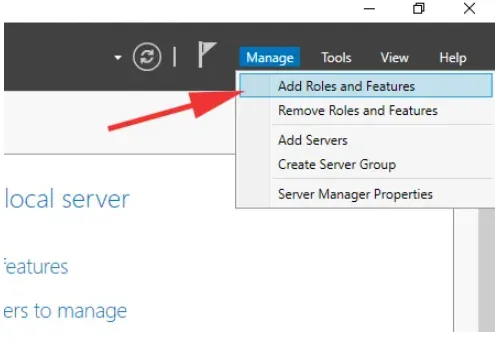
- Select Manage => Add Roles and Features.
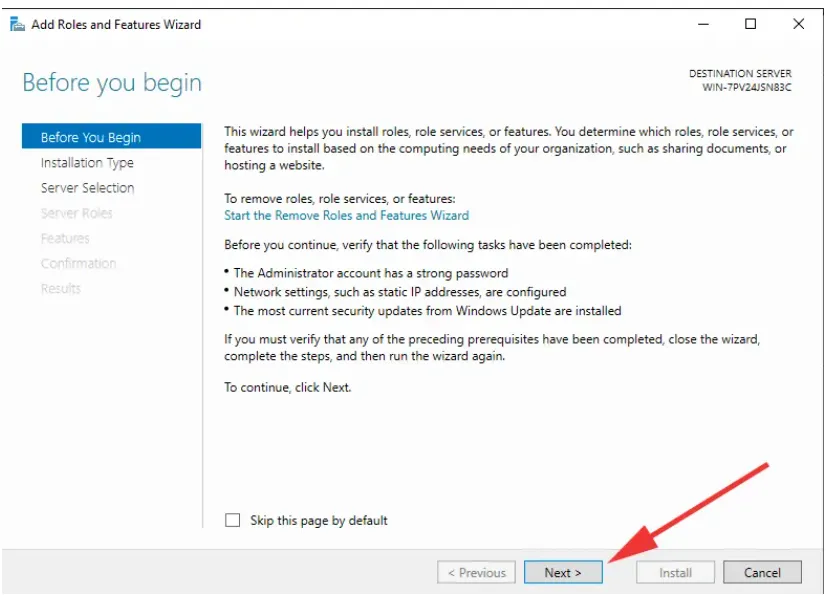
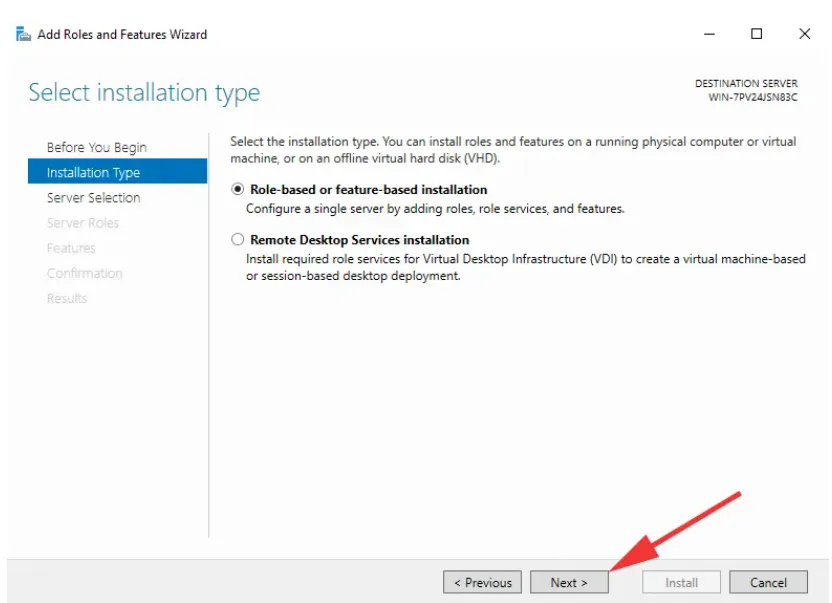
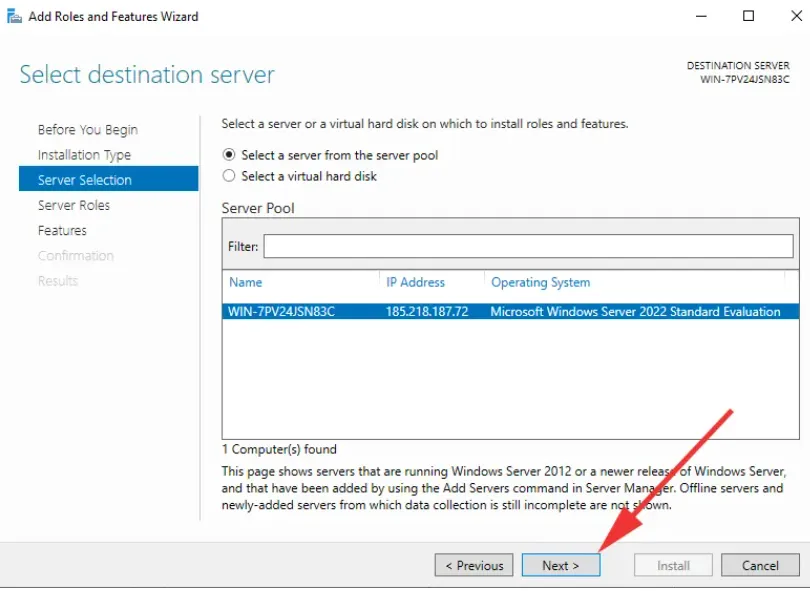
- In Server Roles, select Remote Desktop Services.
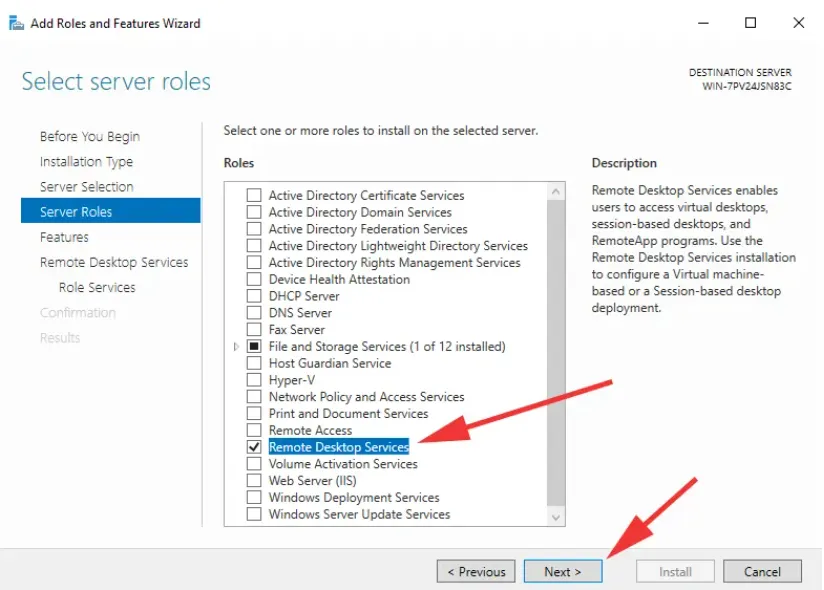
- Follow the wizard until the Role Services step.
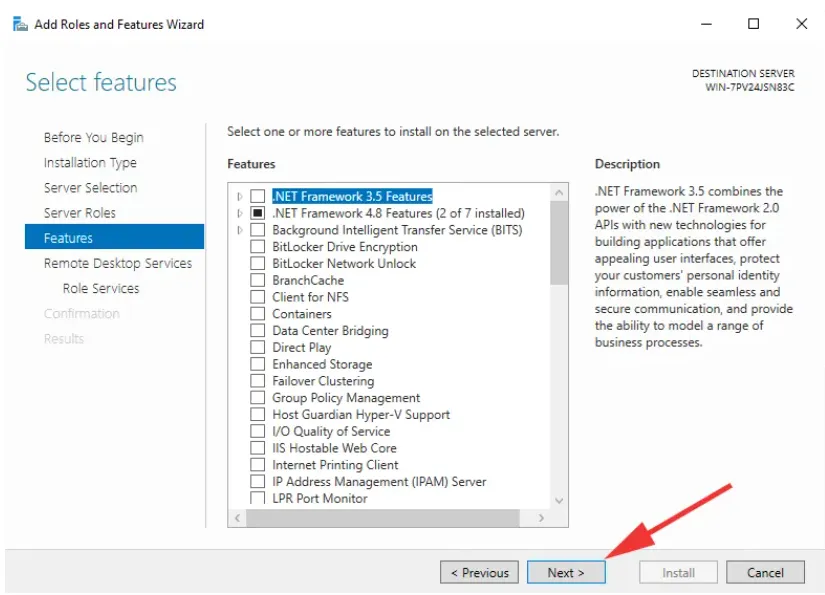
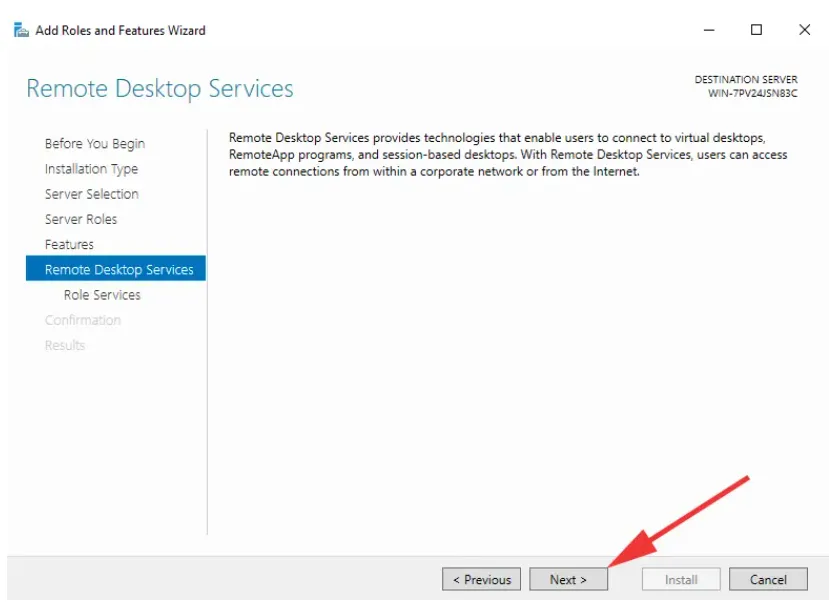
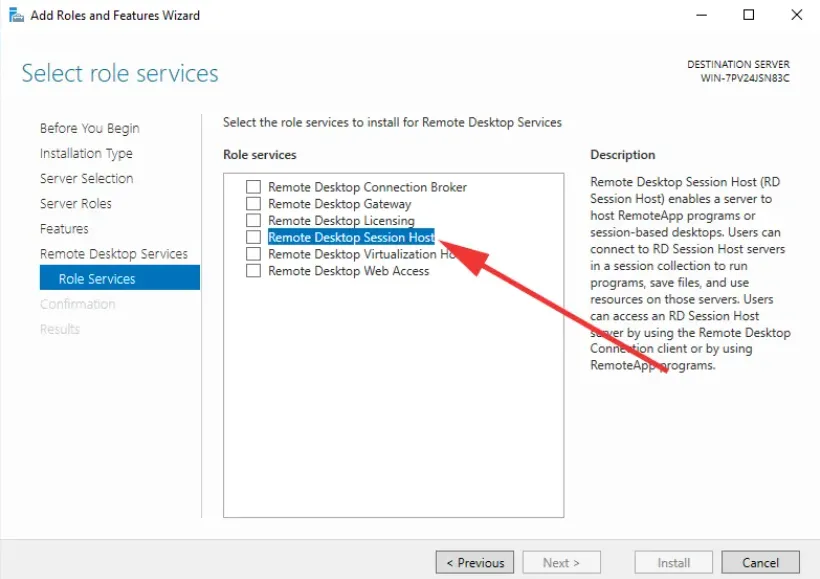
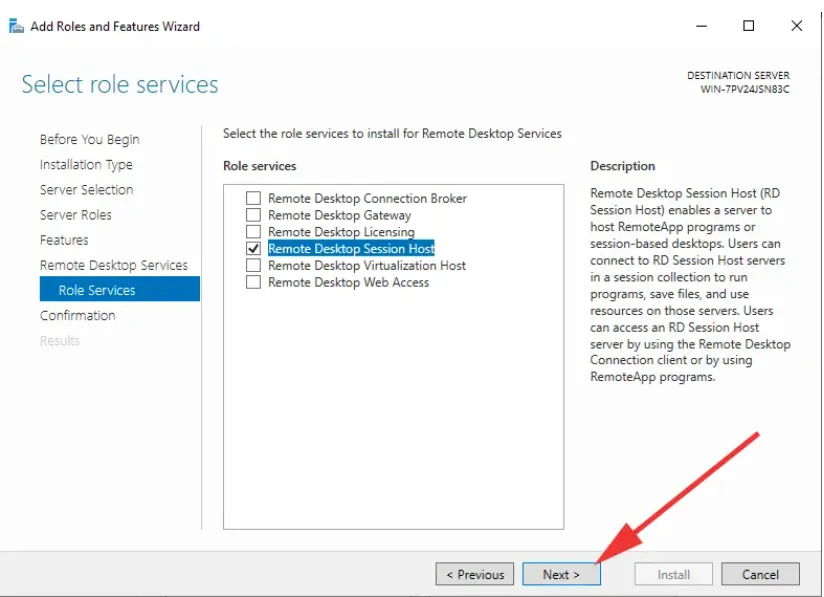
- In Role Services, select Remote Desktop Session Host.
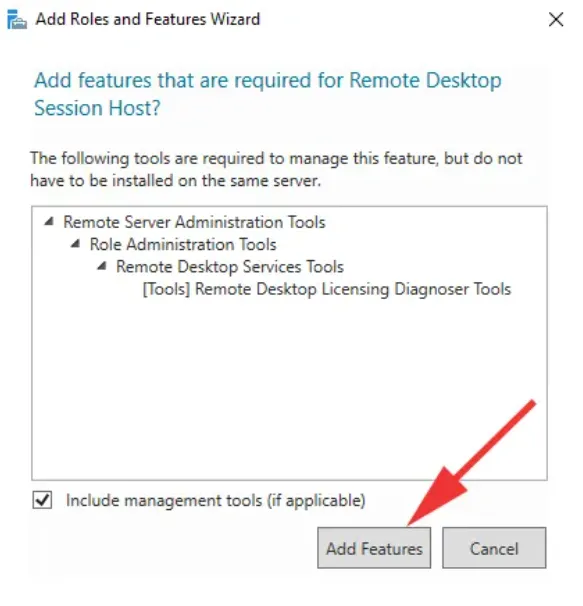
- Click Add Features when prompted.
- Continue through the wizard by clicking Next.
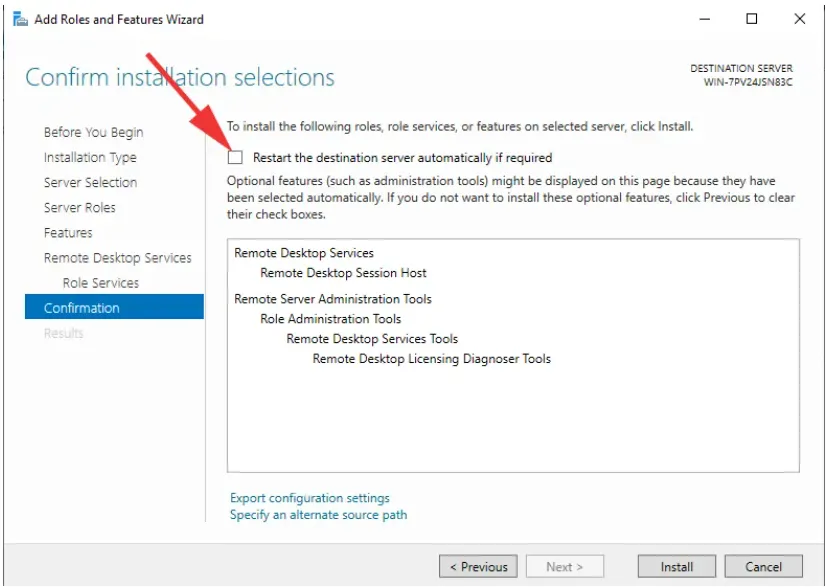
- On the confirmation page, select Restart the destination server automatically if required.
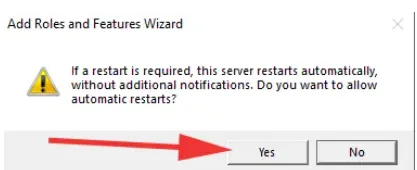
- Confirm the restart by clicking Yes.
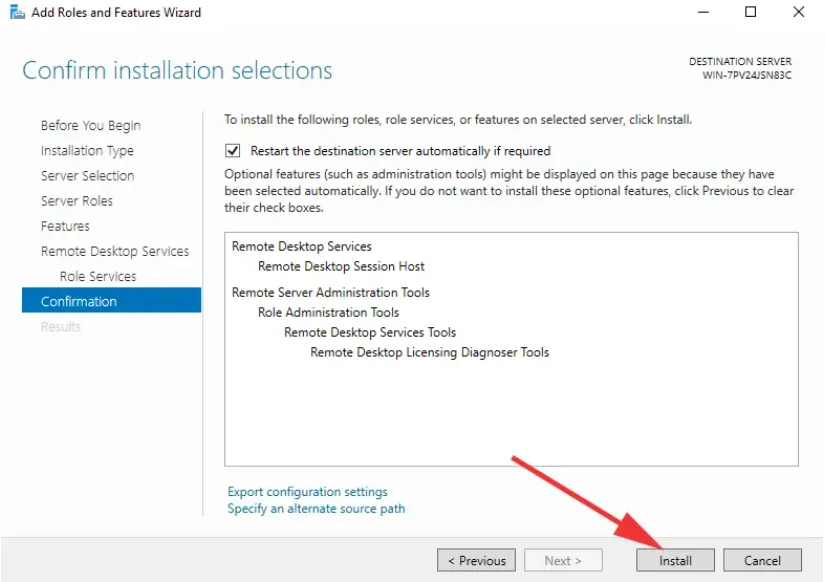
- Click Install and wait for the role installation to finish.
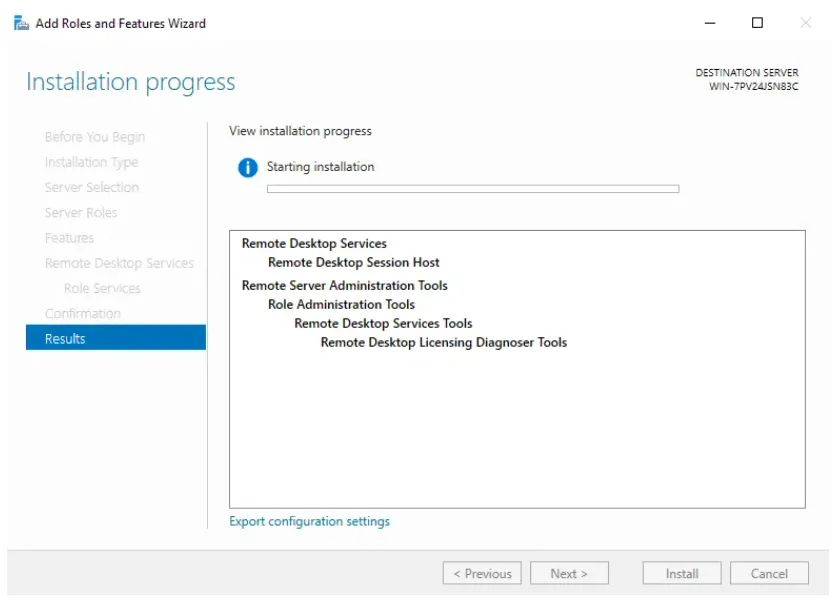
- The server may restart during installation. Reconnect after it comes back online.
Configure the local RDP client
- On the local computer, open Remote Desktop Connection (
mstsc.exe) and click Show Options.
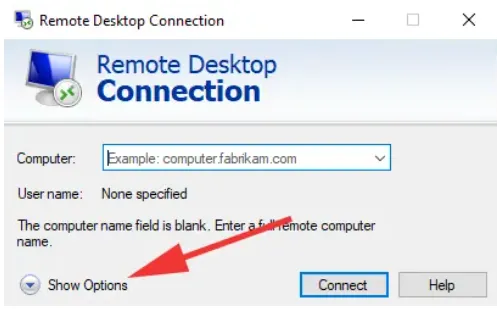
- Open the Local Resources tab and click Settings in the Remote audio section.
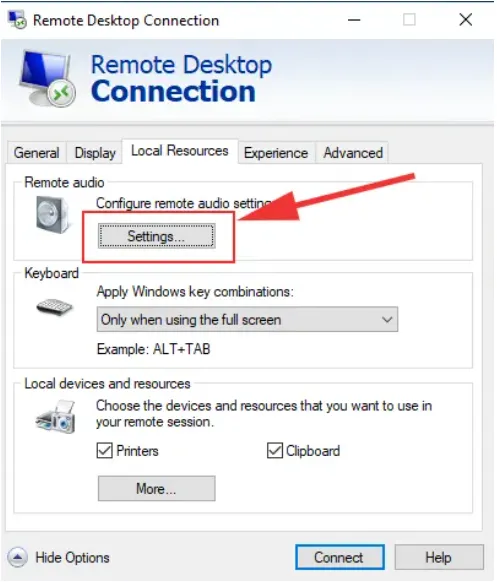
- Under Remote audio recording, select Record from this computer, then click OK.
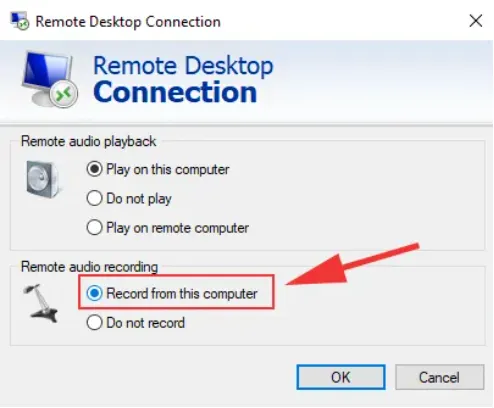
- Connect to the server again. In the remote session, right-click the sound icon and select Sounds.
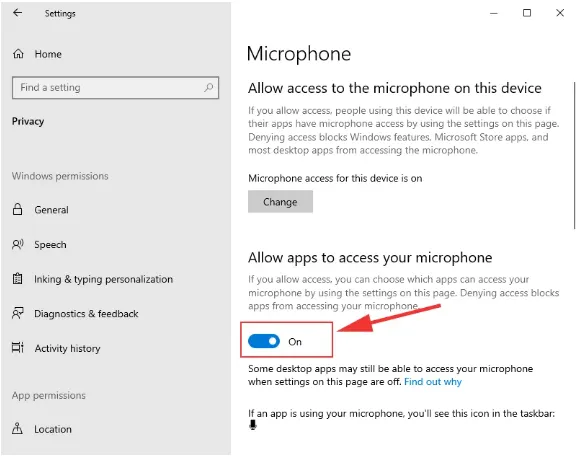
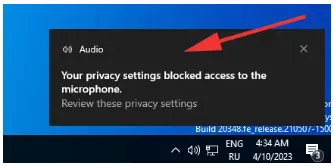
- If Windows asks for microphone permission, turn it On. On the local computer, also check Settings => Privacy & security => Microphone and allow access for desktop apps.
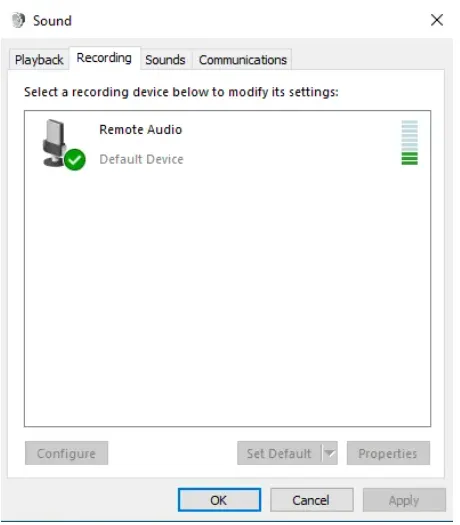
- Open the recording devices list and verify that the redirected microphone appears and responds when you speak.