How to change the sender name in SOGo webmail
Set the name people see next to your address in their inbox: SOGo webmail settings, Mail, IMAP Accounts, Identities.
The sender name is what recipients see next to your address in their inbox — “Anna Smith” rather than “anna” or the bare address. In SOGo webmail it lives in the identity of your mail account, and changing it takes a minute.
Step 1: Open SOGo webmail
For mailboxes on our mail servers, go to https://mail.insave.mx/SOGo/. If your mail is with another provider, open the webmail address it gave you — the steps below are the same in any SOGo 5.
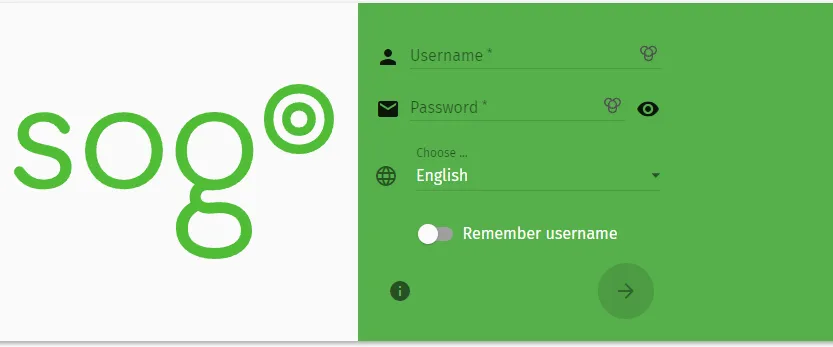
Step 2: Log in
Enter your mailbox address and password.
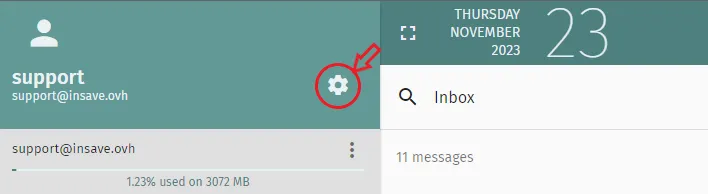
Step 3: Open the settings
Click the gear icon at the top of the window.
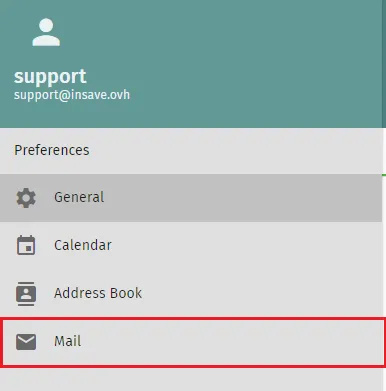
Step 4: Choose Mail
In the settings menu, choose Mail.
Step 5: Open IMAP Accounts
Select the IMAP Accounts tab, find the mailbox whose sender name you want to change, and click Edit (the pencil) to the right of it.

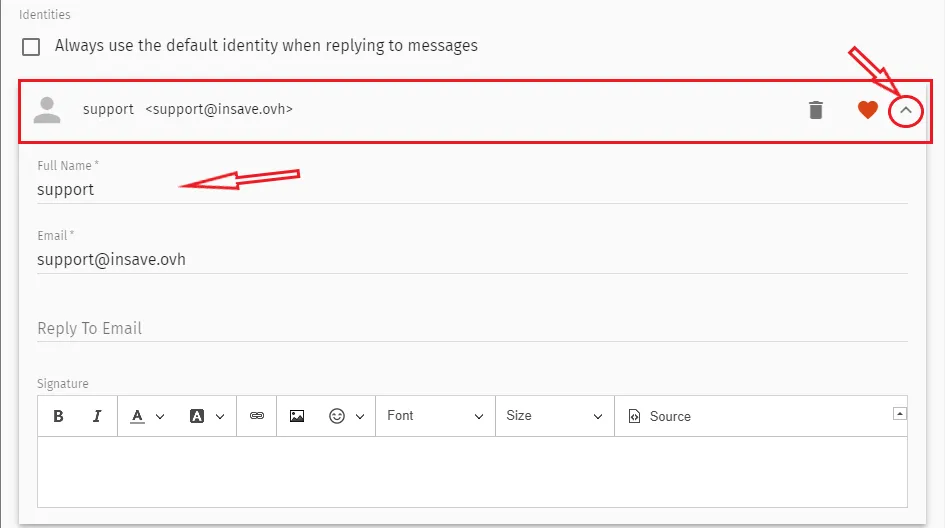
Step 6: Change the Full Name
Under Identities, expand the identity and type the new sender name into the Full Name field.
Step 7: Save
Click OK. Messages you send from now on carry the new name; mail already sent keeps the old one.
The labels can differ slightly between SOGo versions. If something does not match, the SOGo documentation covers your version.