How to Enable the Microphone in Windows Server 2022
- Connect to the remote desktop.

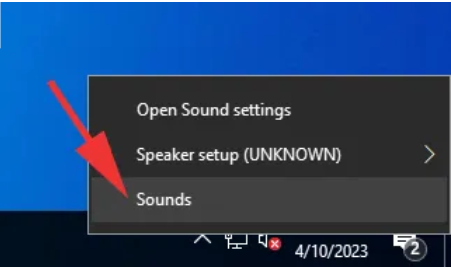
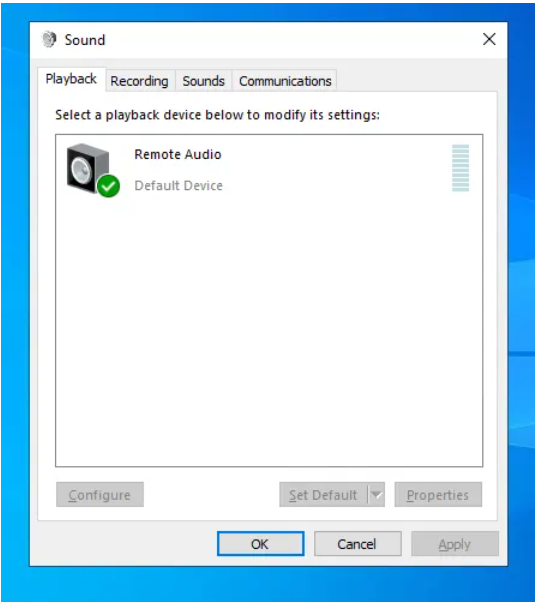
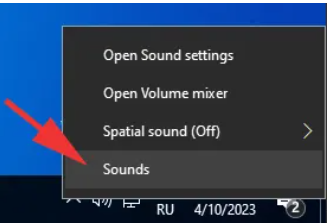
- Right-click on the sound icon and select "Sounds" from the menu.
- If audio support is not enabled in your system, you will be prompted to enable it for sound functionality.
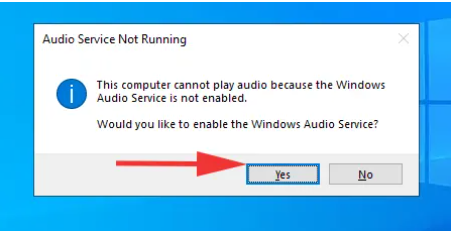
- After enabling the service, a window with audio settings will open.
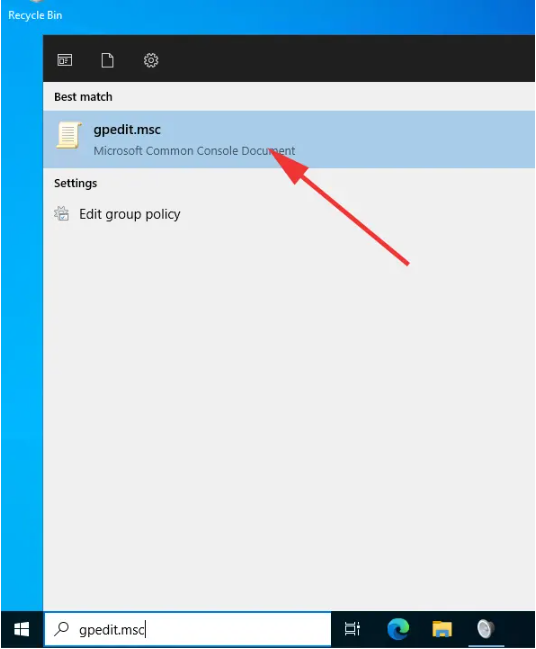
- Now you need to configure the Windows Server security policy to allow sound recording over the network. Open the quick search window in the bottom left corner and enter "gpedit.msc."
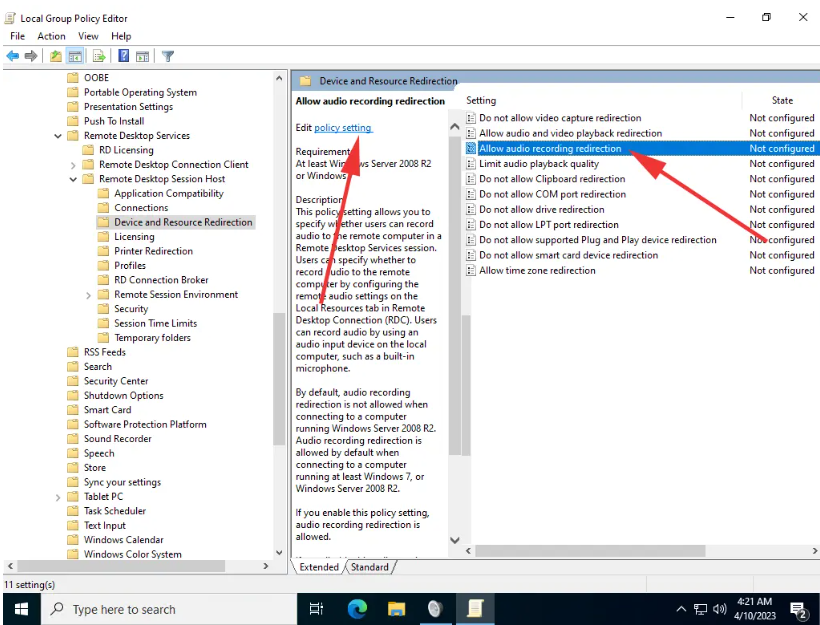
- In the Security Policy settings window, navigate through the following categories on the left: Local computer Policy => Computer Configuration => Administrative templates => Windows Components => Remote Desktop Services => Remote Desktop Session Host => Device and Resource Redirection. On the right, select "Allow audio recording redirection" and click "Edit policy setting" or double-click on the parameter itself to open the settings.
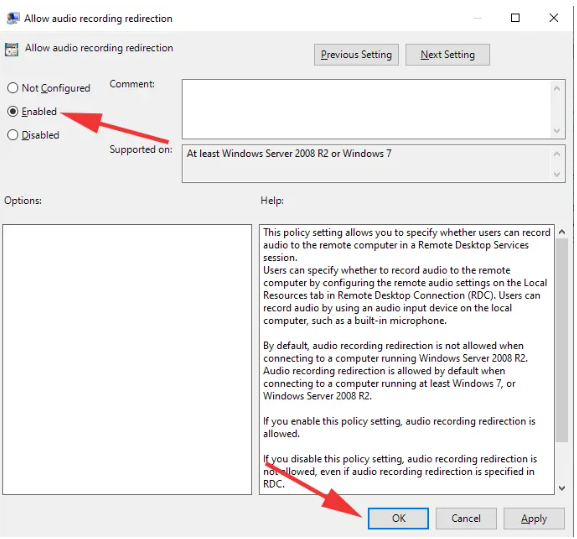
- Enable audio recording access by setting it to "Enabled" and click "OK."
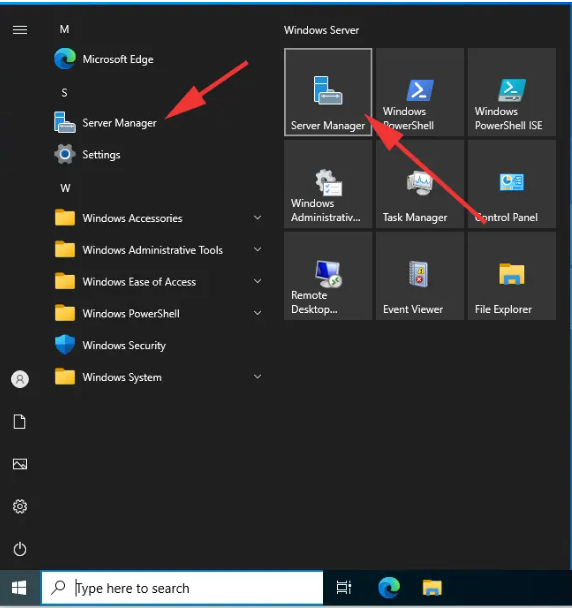
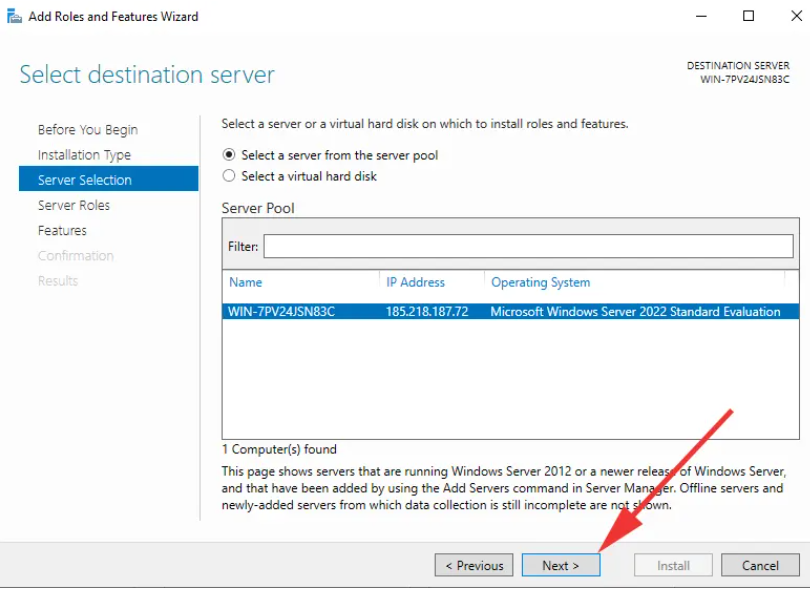
- Open the Start menu and launch "Server Manager."
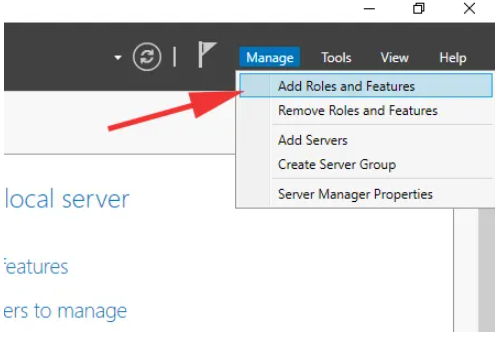
- Click on "Manage" and select "Add Roles and Features" from the list.
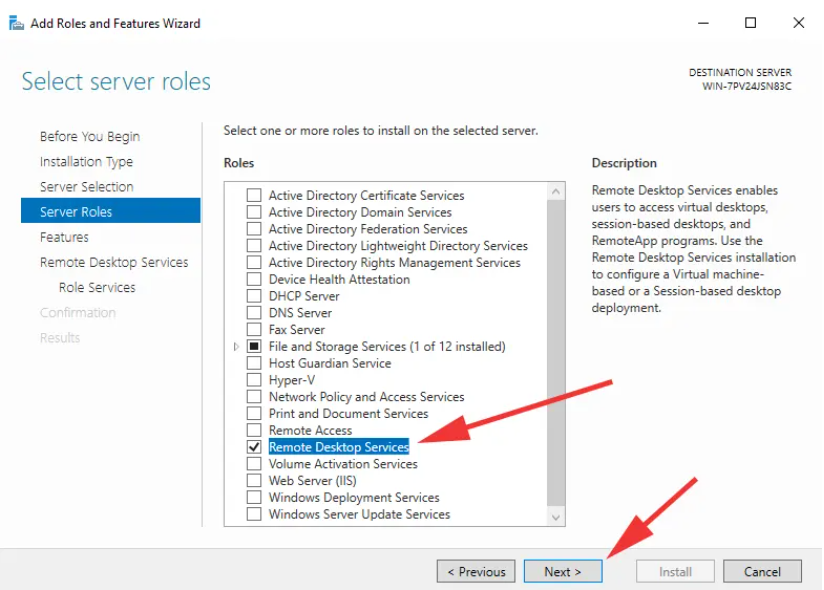
- In the "Server Roles" section, find "Remote Desktop Services" and check the box.
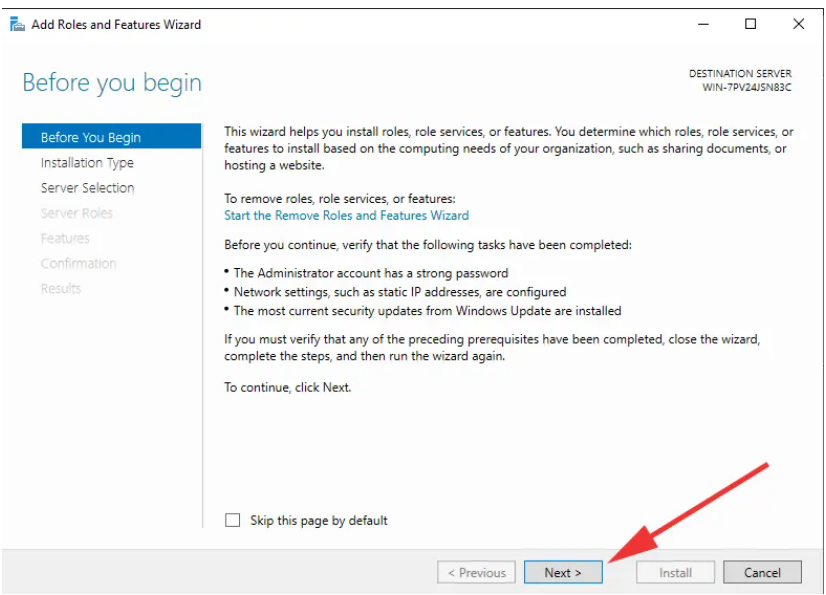
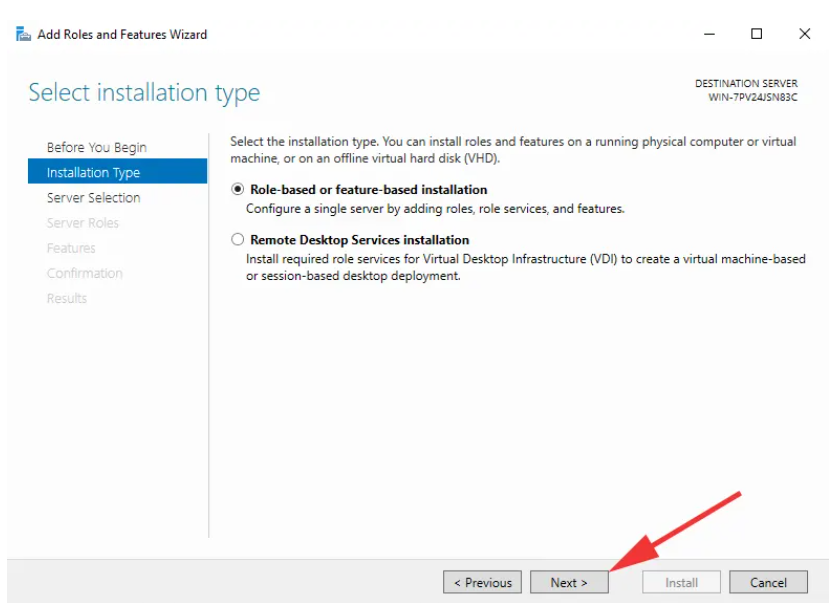
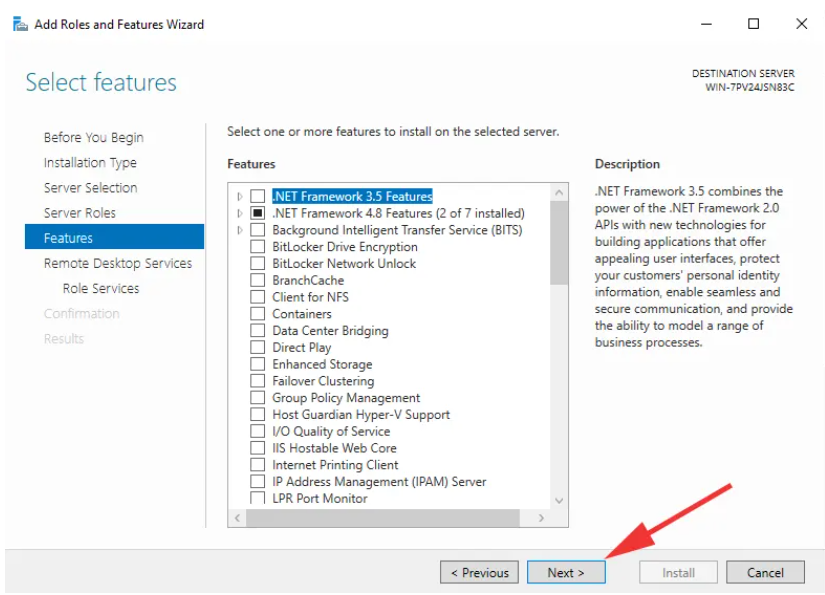
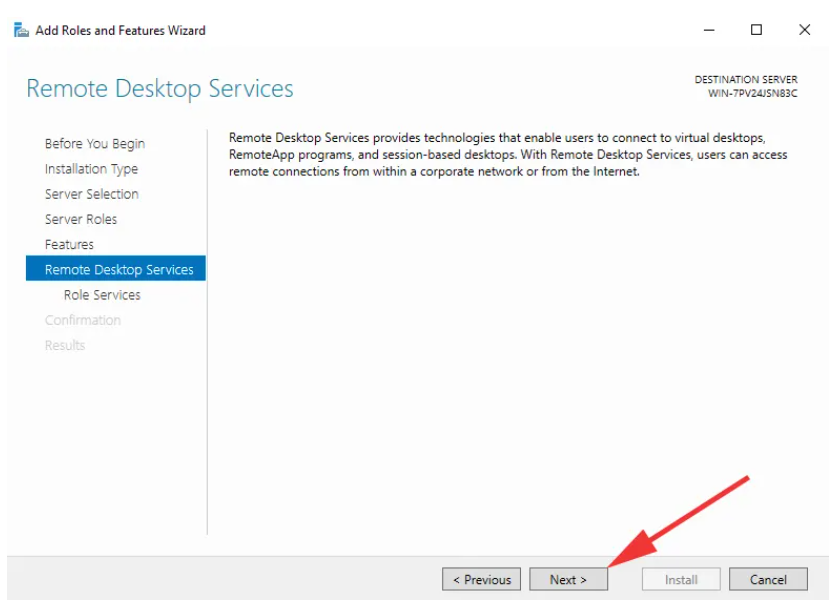
- Follow the on-screen instructions.
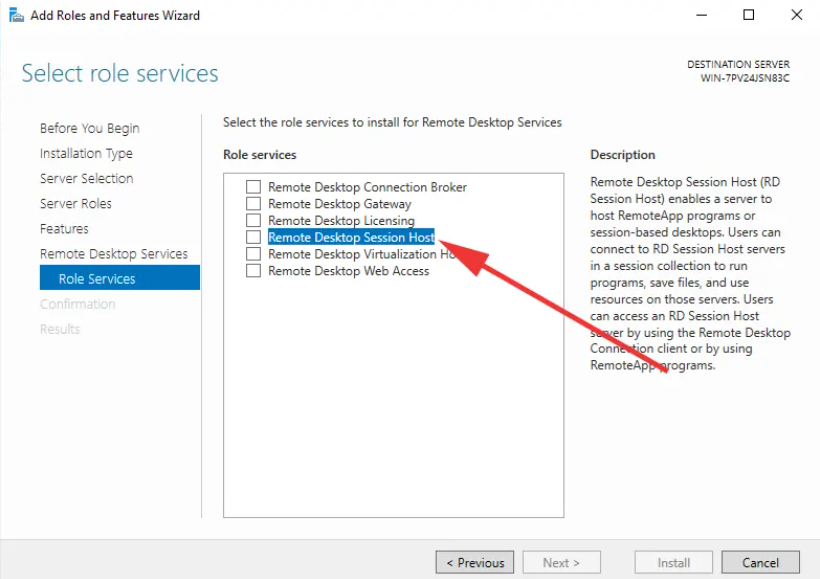
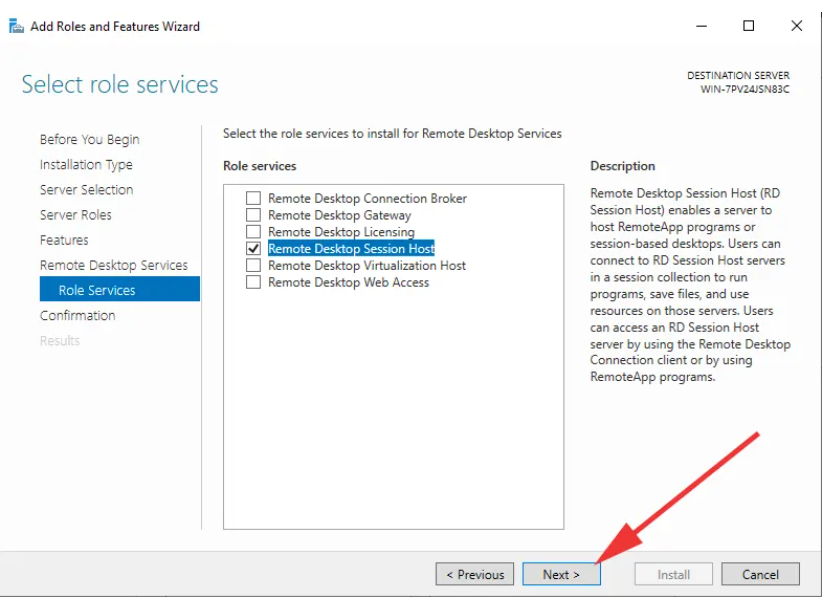
- In the "Role Services" section, select "Remote Desktop Session Host" and check the box.
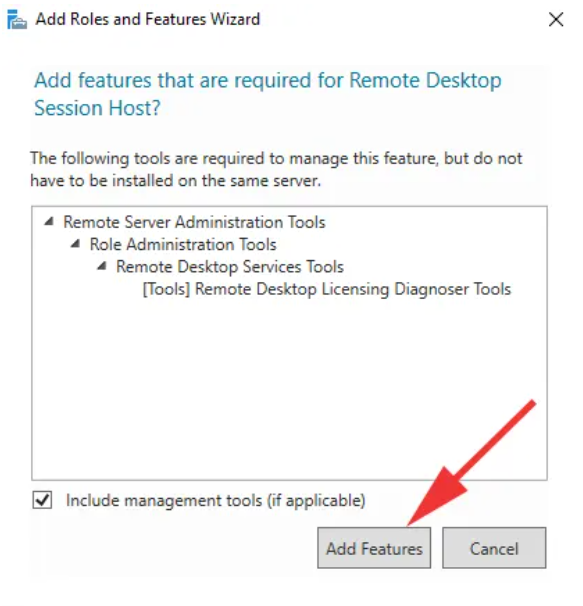
- Click "Add Features."
- Click "Next."
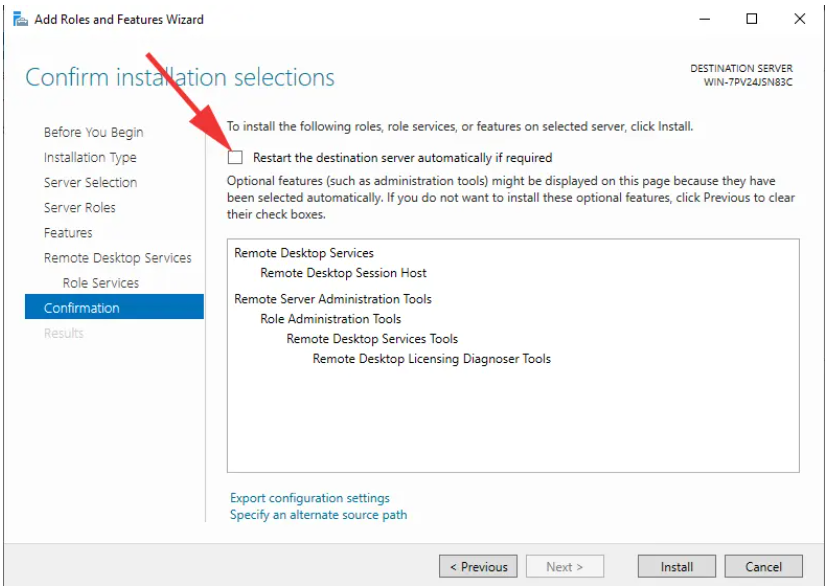
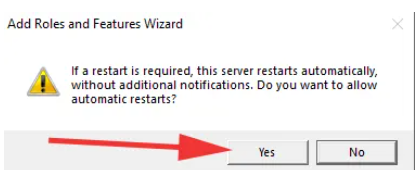
- Check the option for restarting the remote computer to apply the new settings.
- Confirm the restart by clicking "Yes."
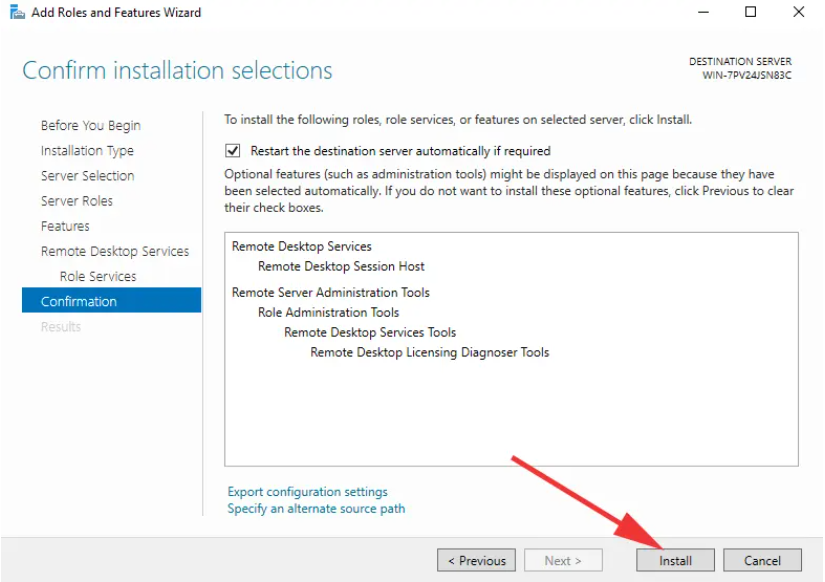
- Start the service installation by clicking "Install."
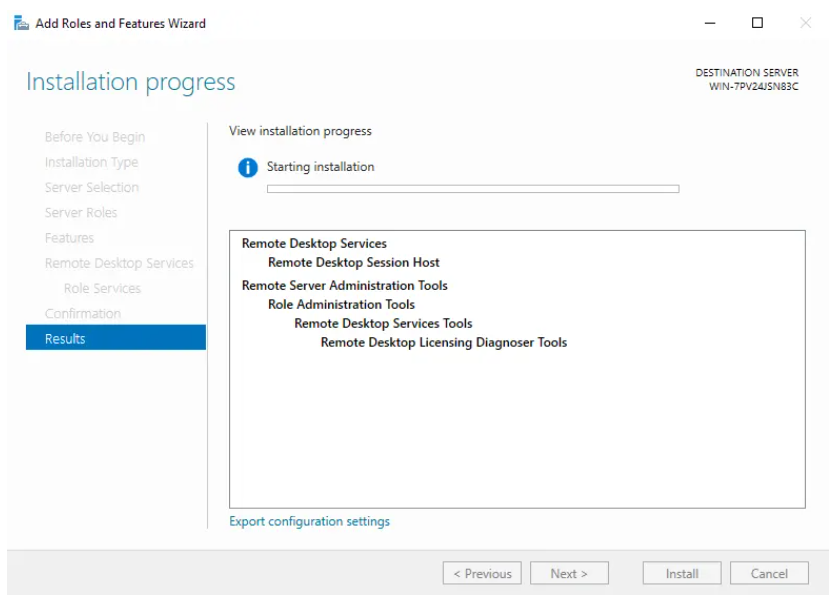
- During the installation, the system will reboot several times.
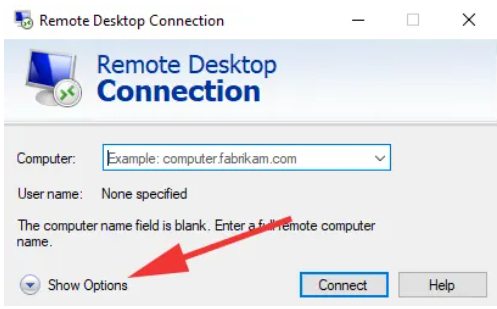
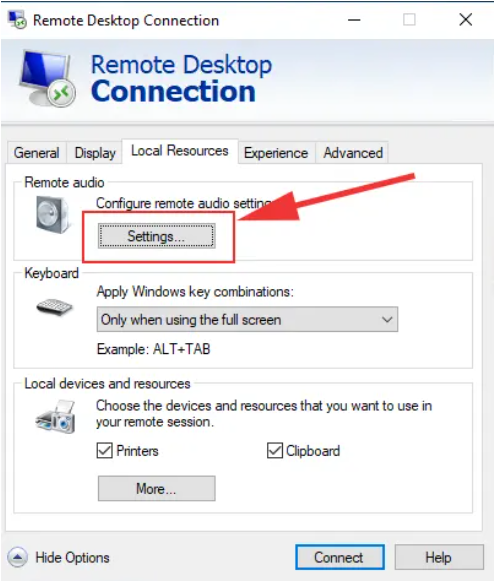
- On the local computer from which you are connecting to the remote desktop, open "Remote Desktop Connection" and click "Show Options."
- Go to the "Local Resources" tab and open audio settings by clicking "Settings."
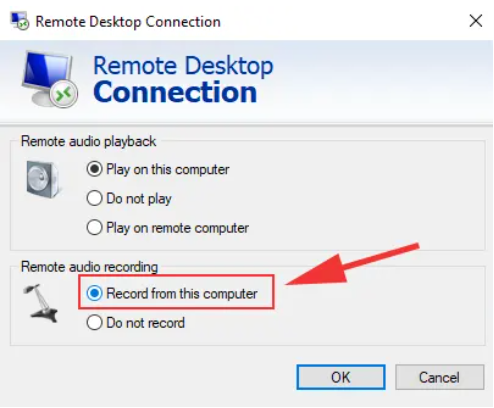
- Switch "Remote audio recording" to "Record from this computer."
- Click on the sound icon and go to "Sounds."
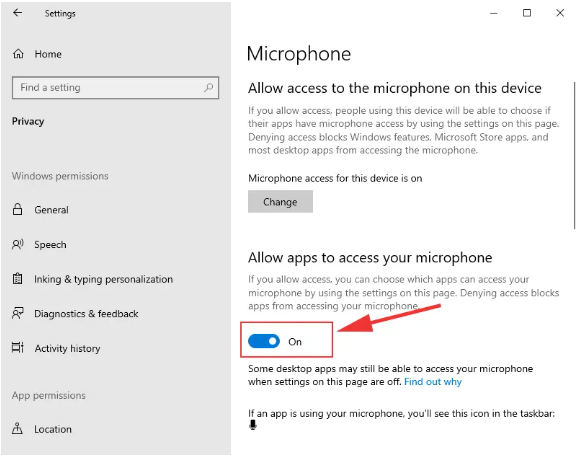
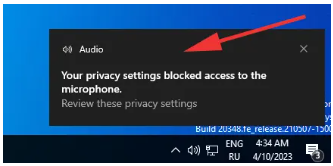
- Allow access to the microphone by sliding the toggle to "On" and close the sound settings window.
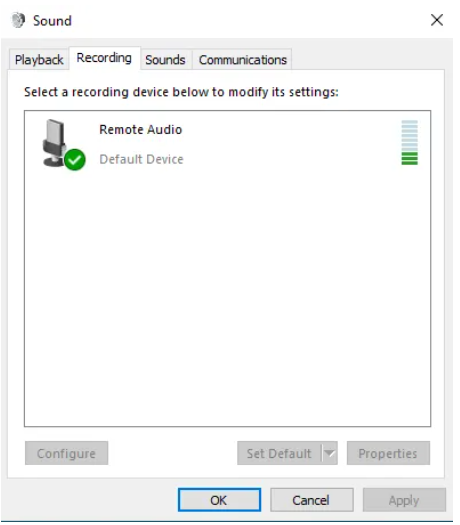
- Open sound settings and verify that the microphone is functioning.