

How to Change the Sender Name in SOGo Webmail
SOGo Webmail offers a convenient way to manage your email settings, including the ability to personalize the sender name associated with your outgoing emails. Follow these steps to change the sender name in SOGo Webmail.
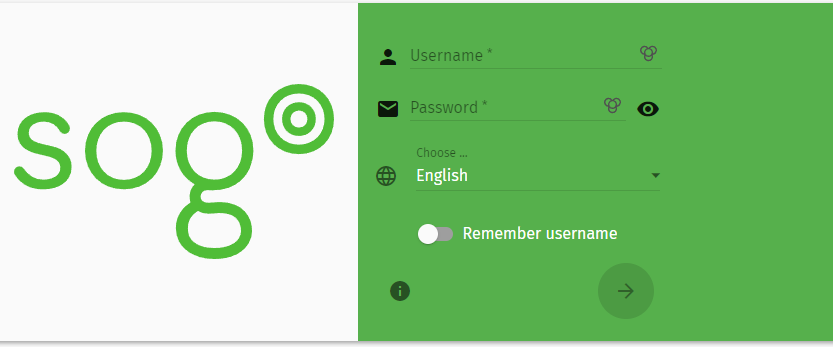
Step 1: Access SOGo Webmail
Go to the SOGo Webmail interface by entering the URL https://mail.insave.mx/SOGo/ in your browser.
Step 2: Login
Enter your login credentials, including your username and password, to access your mailbox.
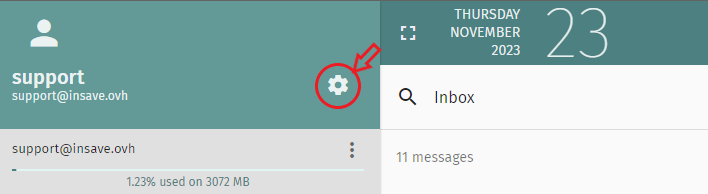
Step 3: Navigate to Mail Settings
Once logged in, locate and click on the settings icon, usually represented by a gear or cogwheel, to access the mail settings.
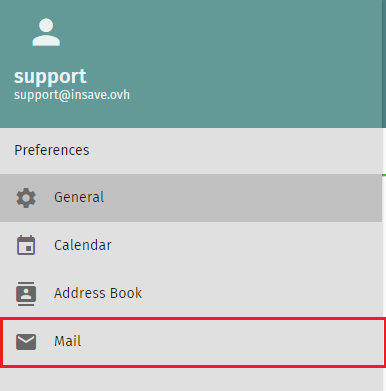
Step 4: Select Mail Option
In the settings menu, choose the "Mail" option to manage your email-related settings.
Step 5: Access IMAP Accounts
Find and select the "IMAP Accounts" tab. This section allows you to manage various aspects of your email accounts.

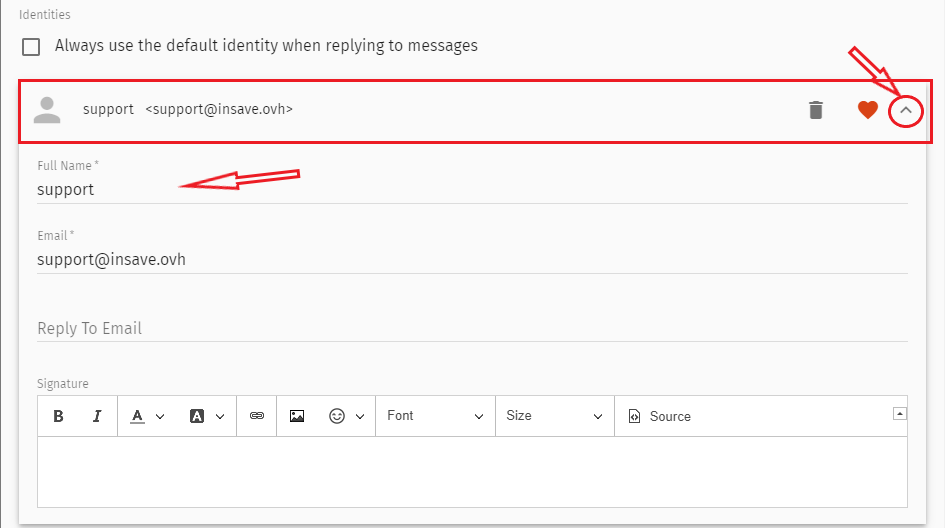
Step 6: Edit Account Information
Locate the specific email account for which you want to change the sender name. Click on the "Edit" option located to the right of the account name.
Step 7: Modify Full Name
Within the "Identifiers" tab, expand the section and locate the field related to the full name. Modify it according to your desired sender name.
Step 8: Save Changes
After making the necessary changes, click "OK" to save the modifications you've made to the sender name.
You have successfully changed the sender name in SOGo Webmail. The updated sender name will now be associated with your outgoing emails, providing a personalized touch to your communication.
Keep in mind that the steps may slightly vary based on the specific version of SOGo Webmail you are using. If you encounter any difficulties, refer to the official documentation or support resources provided by SOGo for further assistance.
